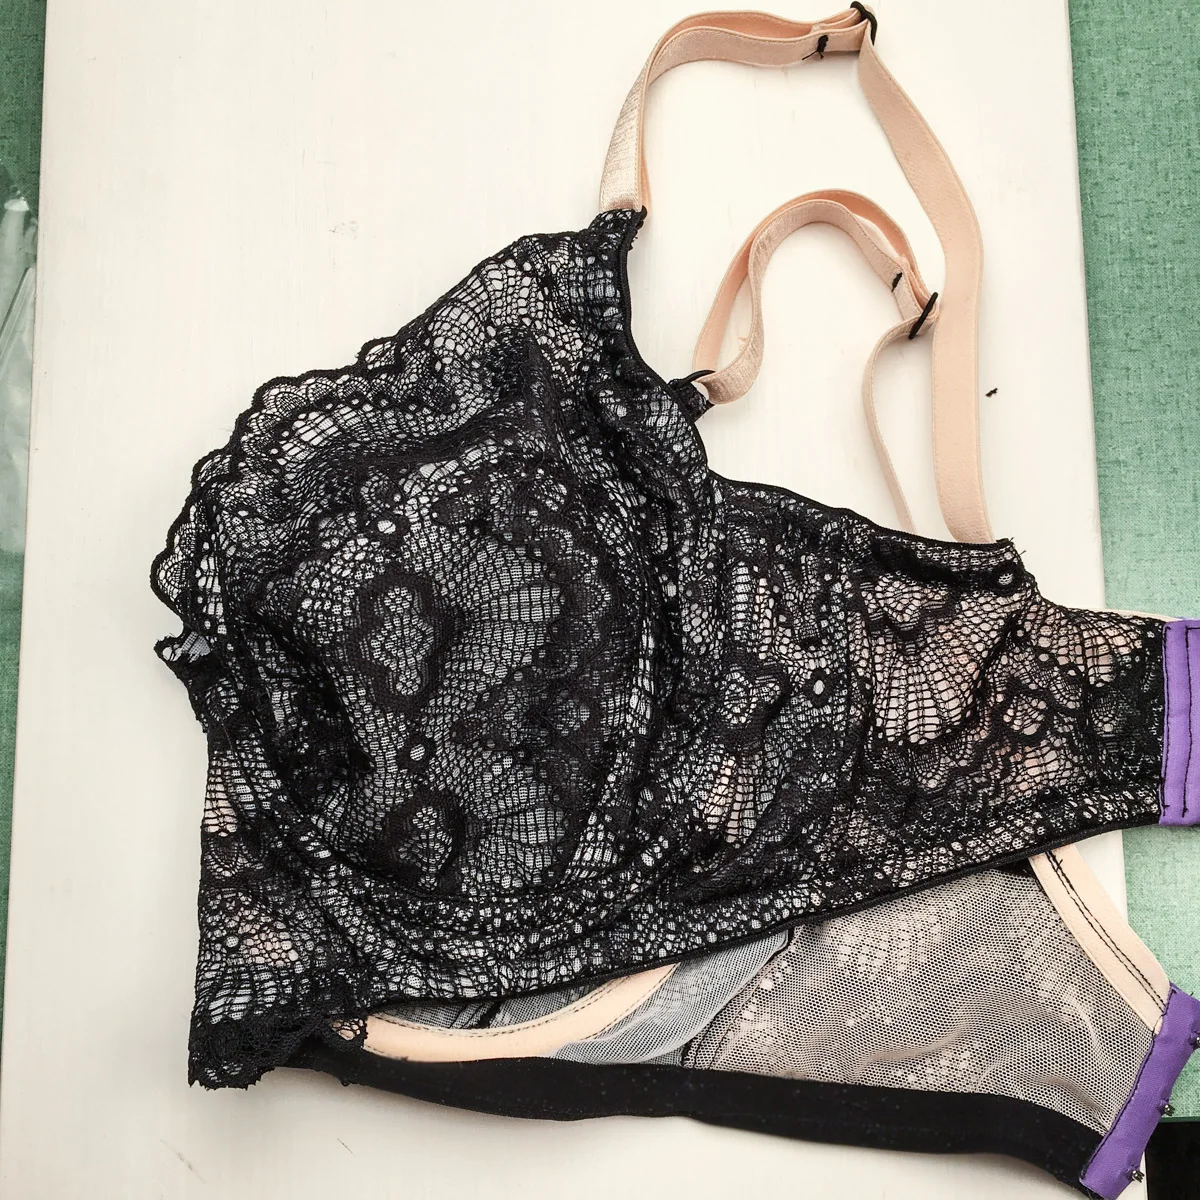
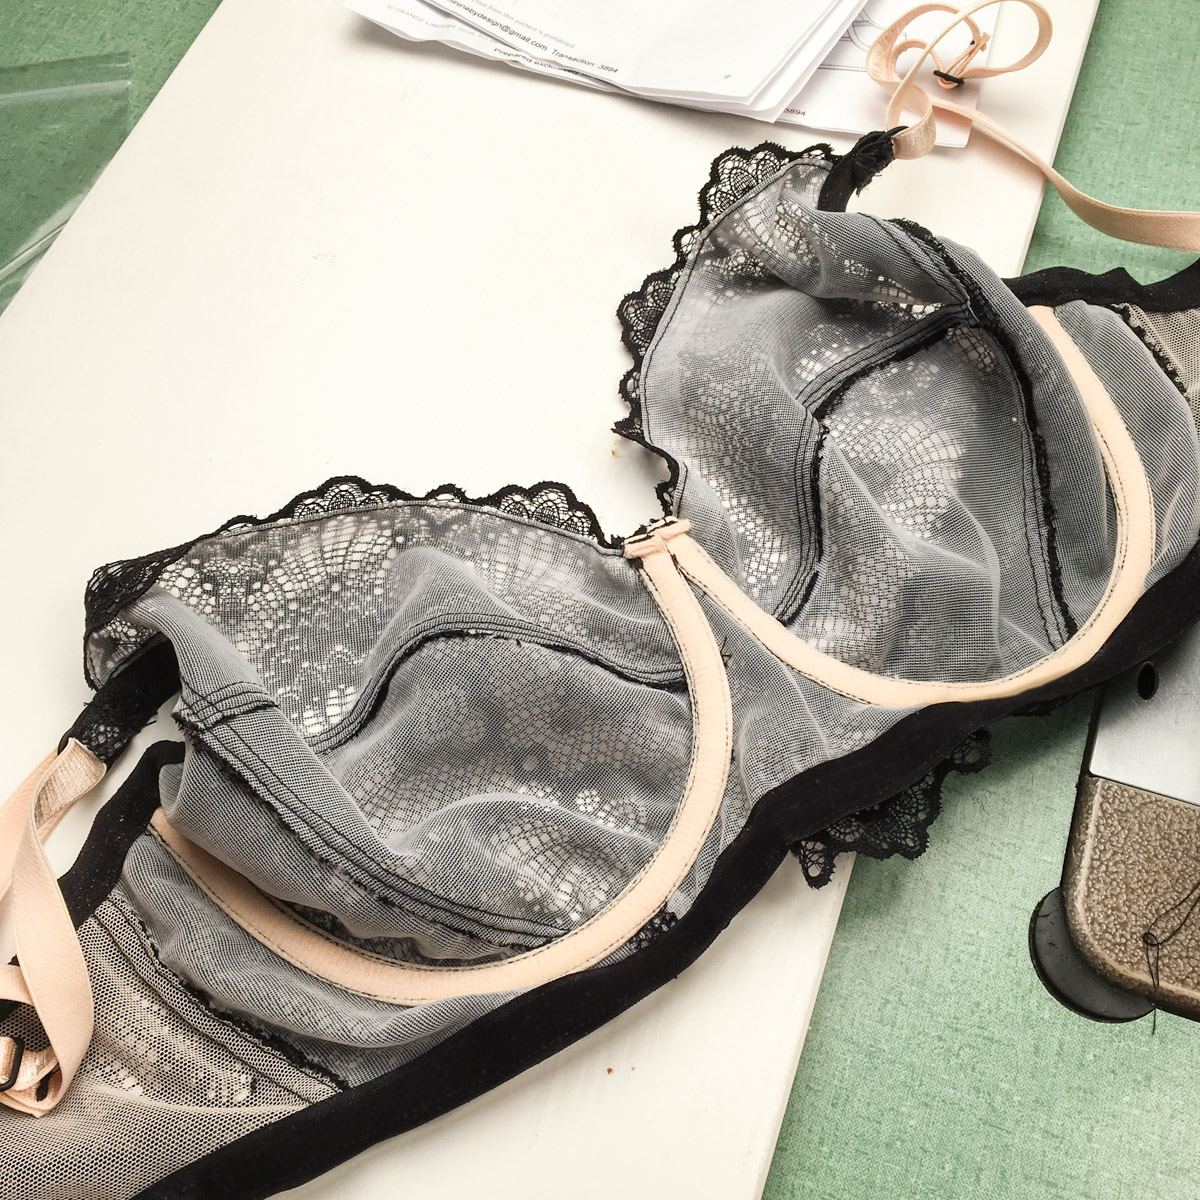
Pattern:
This is the Orange Lingerie Marlborough Bra. While there are many lovely bra patterns around to choose from, I settled on this one because it alleged that it would hold forward rather than to the side, and the size range goes beyond a D. (So actually, almost all of those cute little bras don’t come in my size.) I made the 32DDD.
Also, this pattern is full-frame, which was important to me because one of the alterations I want to do is make a long-line.
The instructions were very complete and easy to follow, I didn't have any troubles with it. I am very impressed at how professional the finishes look, it is like a bought bra but better.
Changes:
The main change I made to the pattern was adjusting the width of the bridge. It seems that the standard is about 1 inch. I’m about 1/2 inch. I’ve often noted this annoying difference between my body and bought bras, and when possible sewn in to try to fix it. I didn’t get it right down to a half inch (because the underwire casings would overlap too much - they are already overlapped by a millimeter or so), but that seems to be enough to lie nice and flat.
I also changed the bottom of the bridge to be straight rather than curved. Now that the bra is complete, it actually wants to curve up into the shape the original pattern was, so that might've been pointless. I let the edge of the lace overlap, into a flattering little dip in the front. It's pretty, but isn't staying in place as well as I would like. Considering the bra is rarely seen, it doesn't actually matter.
Besides those two, I tried to follow the pattern as written. I wanted that baseline of what the pattern actually makes before adjusting.
Fit:
First, the bad stuff.
The bridge was going to be too wide, but I adjusted that first. My adjusted bridge fits beautifully.
The shoulder straps are set very wide on the front, and close together on the back. I'm not sure why we want them on a diagonal. If they are perfectly flat, they lie right across my bra fat (on my underarms), and when I move my arms, they slide towards the middle, and then the top edge of the cup is somewhat affected. Thankfully, not enough to be visible through clothing, but not perfect anymore. It is also a bit uncomfortable. The cup and straps are just too close to my underarm. This is an issue I commonly have with store bought bras, I suspect it may have to do with having a short torso. I also commonly have to set my straps to the shortest length.
Now onto the good!
In spite of my fitting issues, I actually like the way this bra fits better than ANY of the bought bras in my drawer. Better fit, better shape, more comfortable. It holds up and forward as promised, which is my main thing, and the back band gives a little less lines in my back than average.
Next time I plan to tweak the power bar and upper cup to shift the strap inward by an inch or so, which will require redrafting pieces.
I also want to figure out how to reduce those lines of the elastic digging in on the back, be that by wider elastic or more than one layer of power mesh.
Fabrics/notions:
The main lace is a nylon/spandex stretch lace. The front of the bra is lined with a light pink tricot, and the back is lined with a nude power mesh. (I could have used black lining, but I wanted the lace pattern to be visible)
Stretch elastic is a beast to try to cut out. I had to sharpen my scissors before it was bearable. The hardest and most stressful part of the whole project was cutting out the lace! It took about 1 meter of 8 inch wide lace.
The straps are nude 1/2 inch strap elastic, the edges of the bra are actually fold-over elastic, sewn on like picot elastic with the edge showing.
The back hook and eye unit is purple because they were out of stock of black 3 hook ones. I decided purple right now was better than black one day.
The wire is a 38 Long Classic. The sliders are matte black 1/2 ones.
All fabrics and supplies were from the Tailor Made Shop.
Sewing:
I used my industrial straight stitch machine for the whole project. As needed, I would stretch lightly as I sewed to put some give into the seams. So far, no issues related to not using stitches for stretch (coverstitch, serge, or zig zag). Time will tell if any seams pop. I've only worn it for about 24 hours right now.

